Image Credit: Samsofy Photography
Image Credit: Samsofy Photography
Image Credit: Samsofy Photography

Image Credit: Samsofy Photography
Image Credit: Samsofy Photography
Image Credit: Samsofy Photography
Image Credit: Samsofy Photography
Image Credit: Samsofy Photography
Image Credit: Samsofy Photography

Image Credit: Samsofy Photography
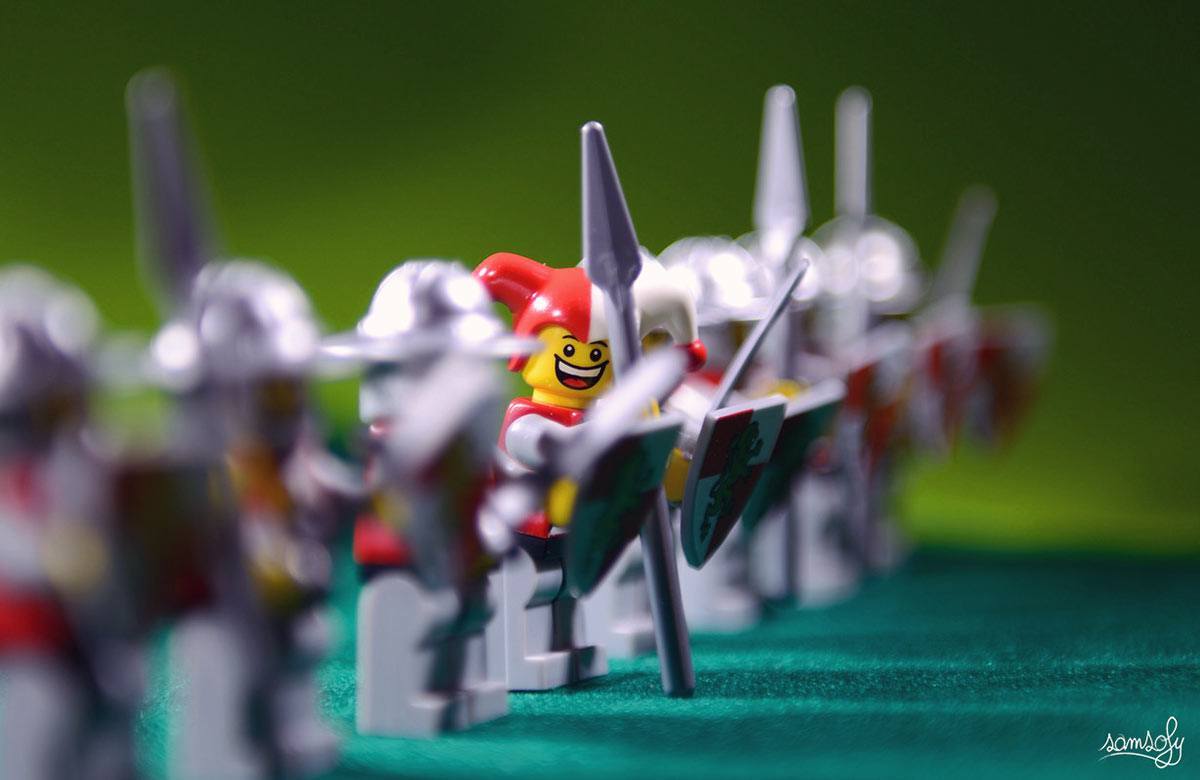
Image Credit: Samsofy Photography
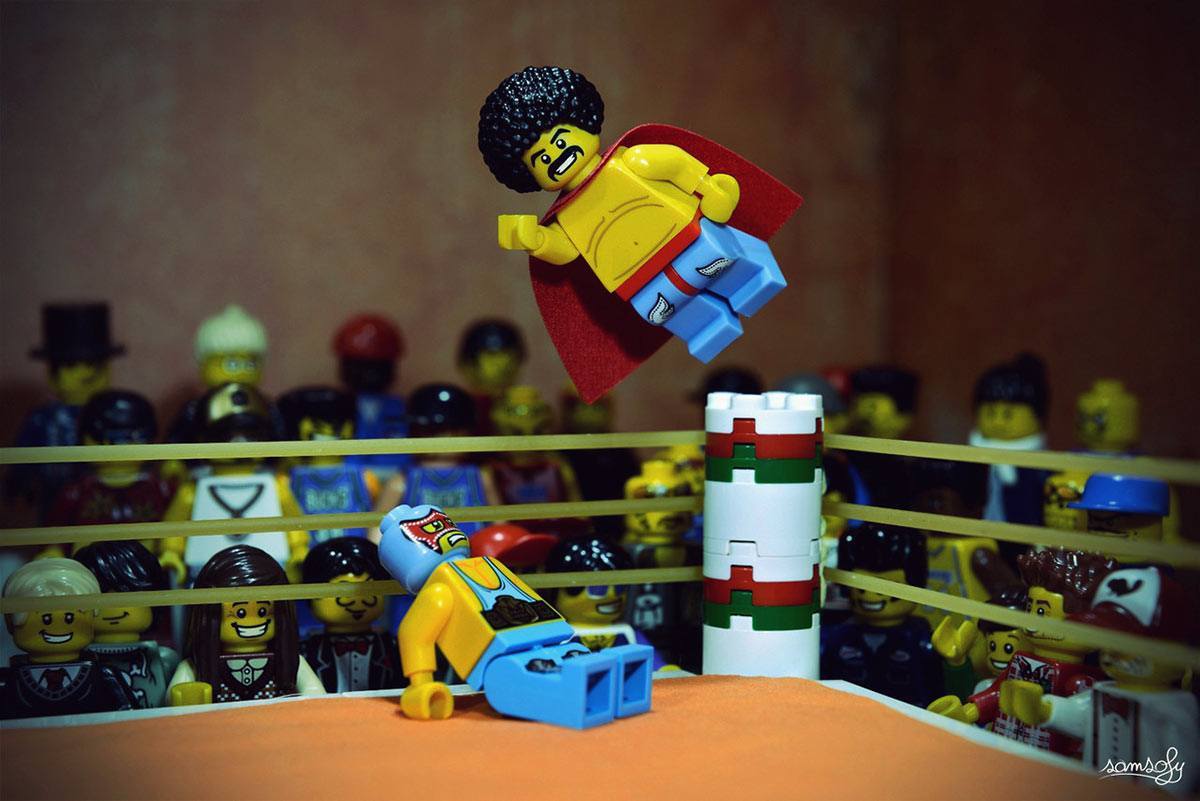
Image Credit: Samsofy Photography
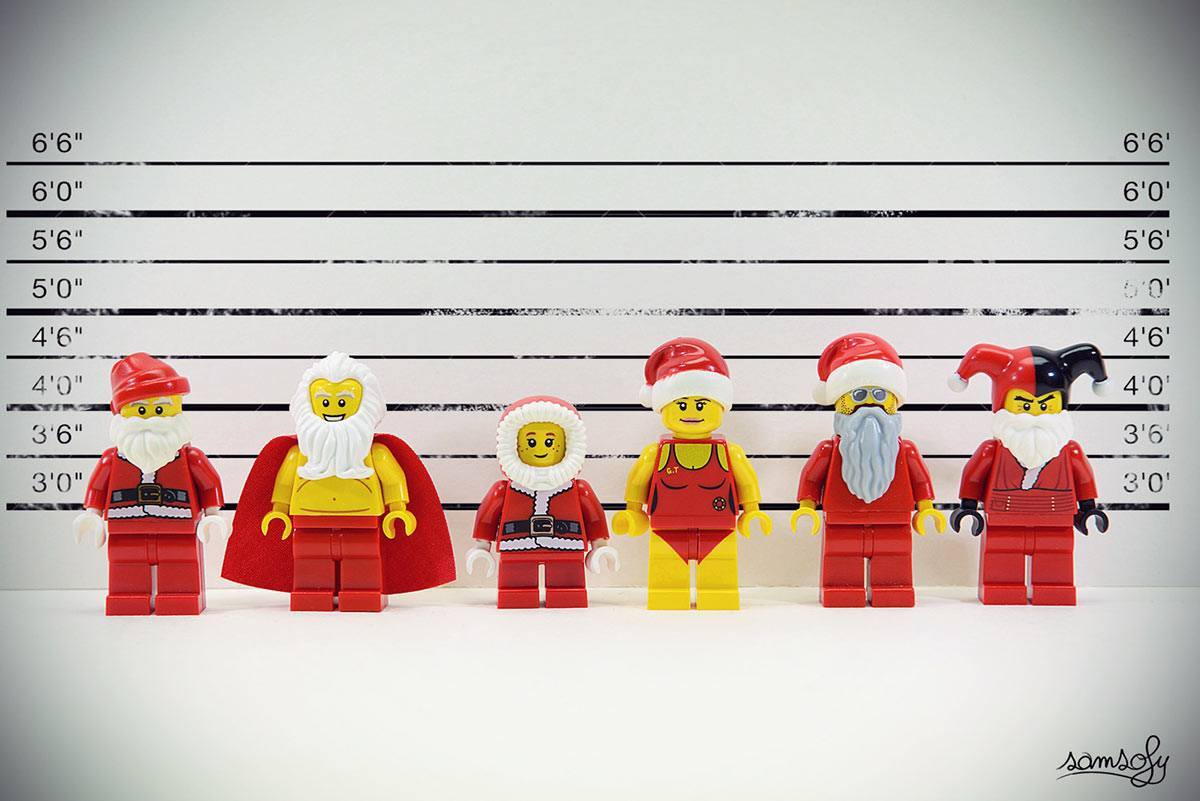
Image Credit: Samsofy Photography
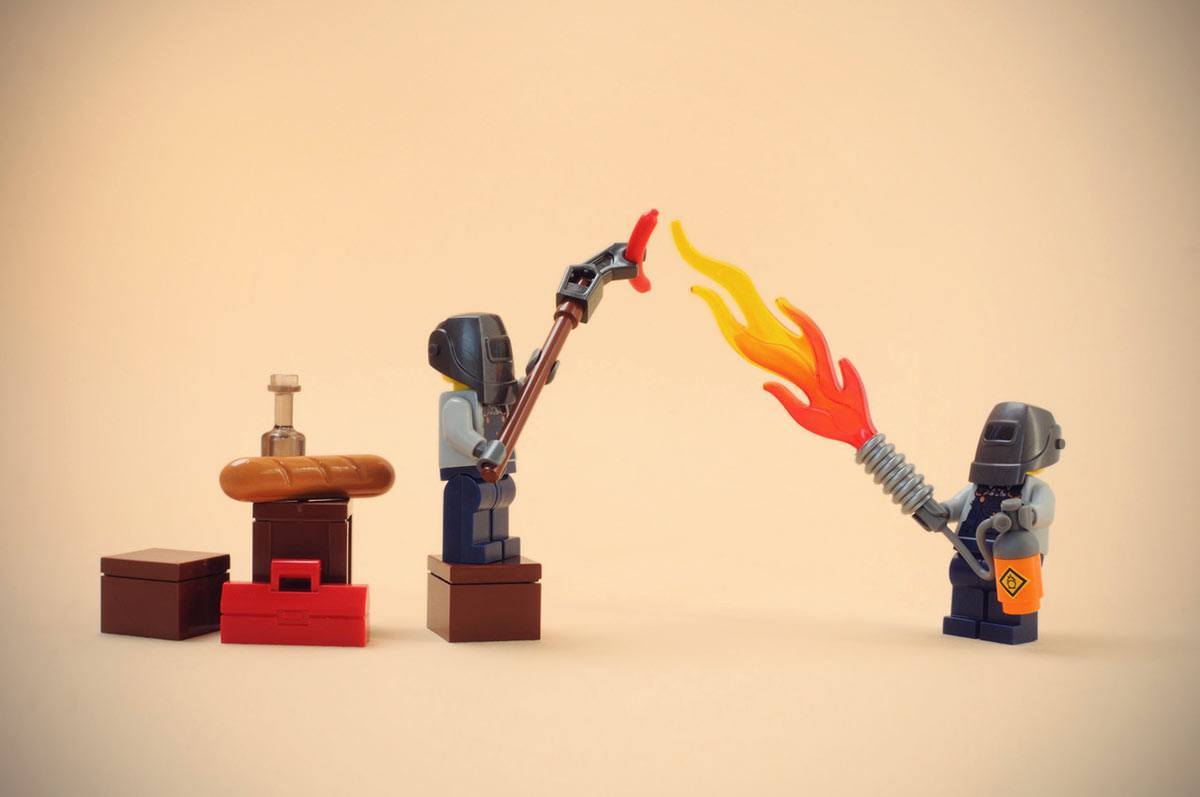
Image Credit: Samsofy Photography
Image Credit: Samsofy Photography
Image Credit: Samsofy Photography
Image Credit: Samsofy Photography
Image Credit: Samsofy Photography
Image Credit: Samsofy Photography
Image Credit: Samsofy Photography
Image Credit: Samsofy Photography
Recommended
More Content